Grab Bars at the Toilet: Placement and Selection
When it comes to the grab bar fixtures in your bathroom, it’s important to personalize them according to your specific needs and style preferences! Unlike public areas, there’s no need to adhere to commercial building code guidelines (ADA) in your home environment. Many HealthCraft grab bars are designed to provide safety and support wherever you need it – not just for today, but for years to come. While there are conventional-looking options available, there are also beautifully designed and highly functional fixtures that go beyond the norm. Don’t let the fear of falling limit your life. Be proactive and invest in grab bars that offer you the freedom and independence to enjoy life to the fullest, regardless of your age or physical condition.
We will address where the grab bar supports should be at the toilet and in a separate article, where support should be at the tub or shower. However, as you plan for where the supports should be, there may be some supports that work in both areas. Such as a clamp-on tub rail that helps you rise from the toilet but also provides a second support for rising from the bottom of the tub.
This 5 Step Guide will review where the support should be, how to select the right bar, and confirm that it will work for the whole family. Before we get started, grab a tape measure, some painters tape (so it won’t mark your walls), a stud finder, and a broomstick or handle.
If this already sounds intimidating or your situation is complex, consider contacting an occupational therapist or an accessibility renovator. An occupational therapist (OT) can provide a complete Home Safety Assessment and recommend home safety products and solutions. A home accessibility renovator/contractor understands the modifications or renovations that will provide you with a safer home environment.
Toilet
For basic fall prevention at the toilet, at a minimum, we recommend one (1) grab bar fixture. For advanced fall prevention at the toilet, we recommend two (2) grab bar fixtures to provide additional balance and support. What should a grab bar do for you at the toilet? It should provide support while you:
- Stand up and sit down onto the toilet safely.
- Lean to make wiping easier.
- Manage your clothing before and after using the toilet.
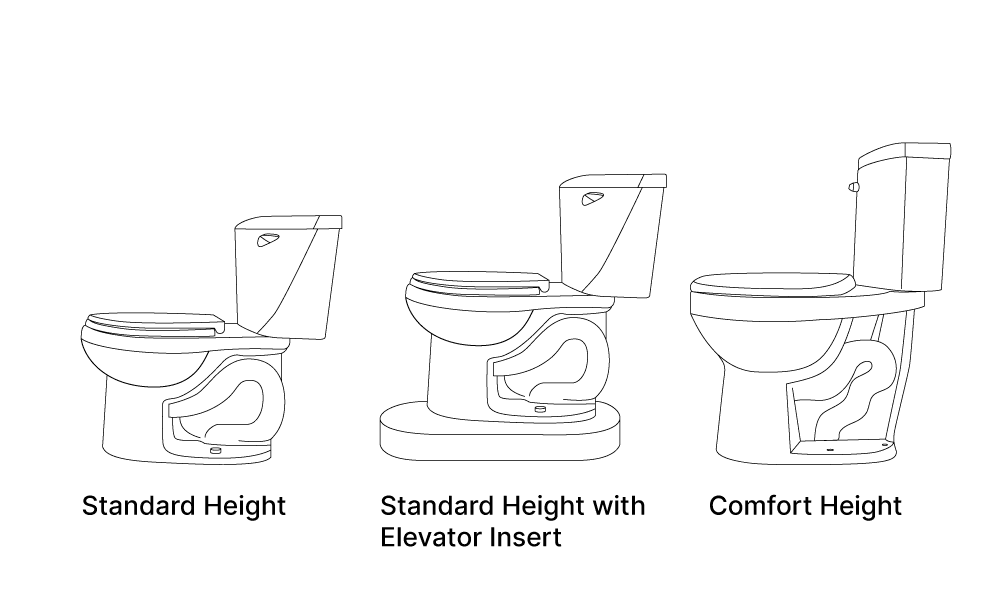
Step 1: Ideal Toilet Height
- Determine if the toilet needs to be higher to make it easier for you. Sit on the toilet (lid open) and practice standing up and sitting down slowly and carefully.
- Consider a raised toilet seat, a toilet elevator insert, or a new taller toilet to give you an ergonomic advantage and make it easier to get up and down.
Step 2: Confirm the Need For One-Handed Support Or Two
- Determine whether you need one-handed support or two-handed support. This will depend on the amount of effort it takes for you to stand up and to maintain control and balance during your movements on and off the toilet, wiping, and managing your clothing. It also depends on whether your legs are strong and can bear weight equally.
- If your balance is poor, one side is weak, or both sides are weak, you would be best with two-handed support. The best support is achieved when the two hands are separated by 12” or more. Think of it as your stable base of support. Two hands on one side are NOT a stable base of support.
- If there is a wall on either side of the toilet, 2 wall-mounted grab bars could work.
-
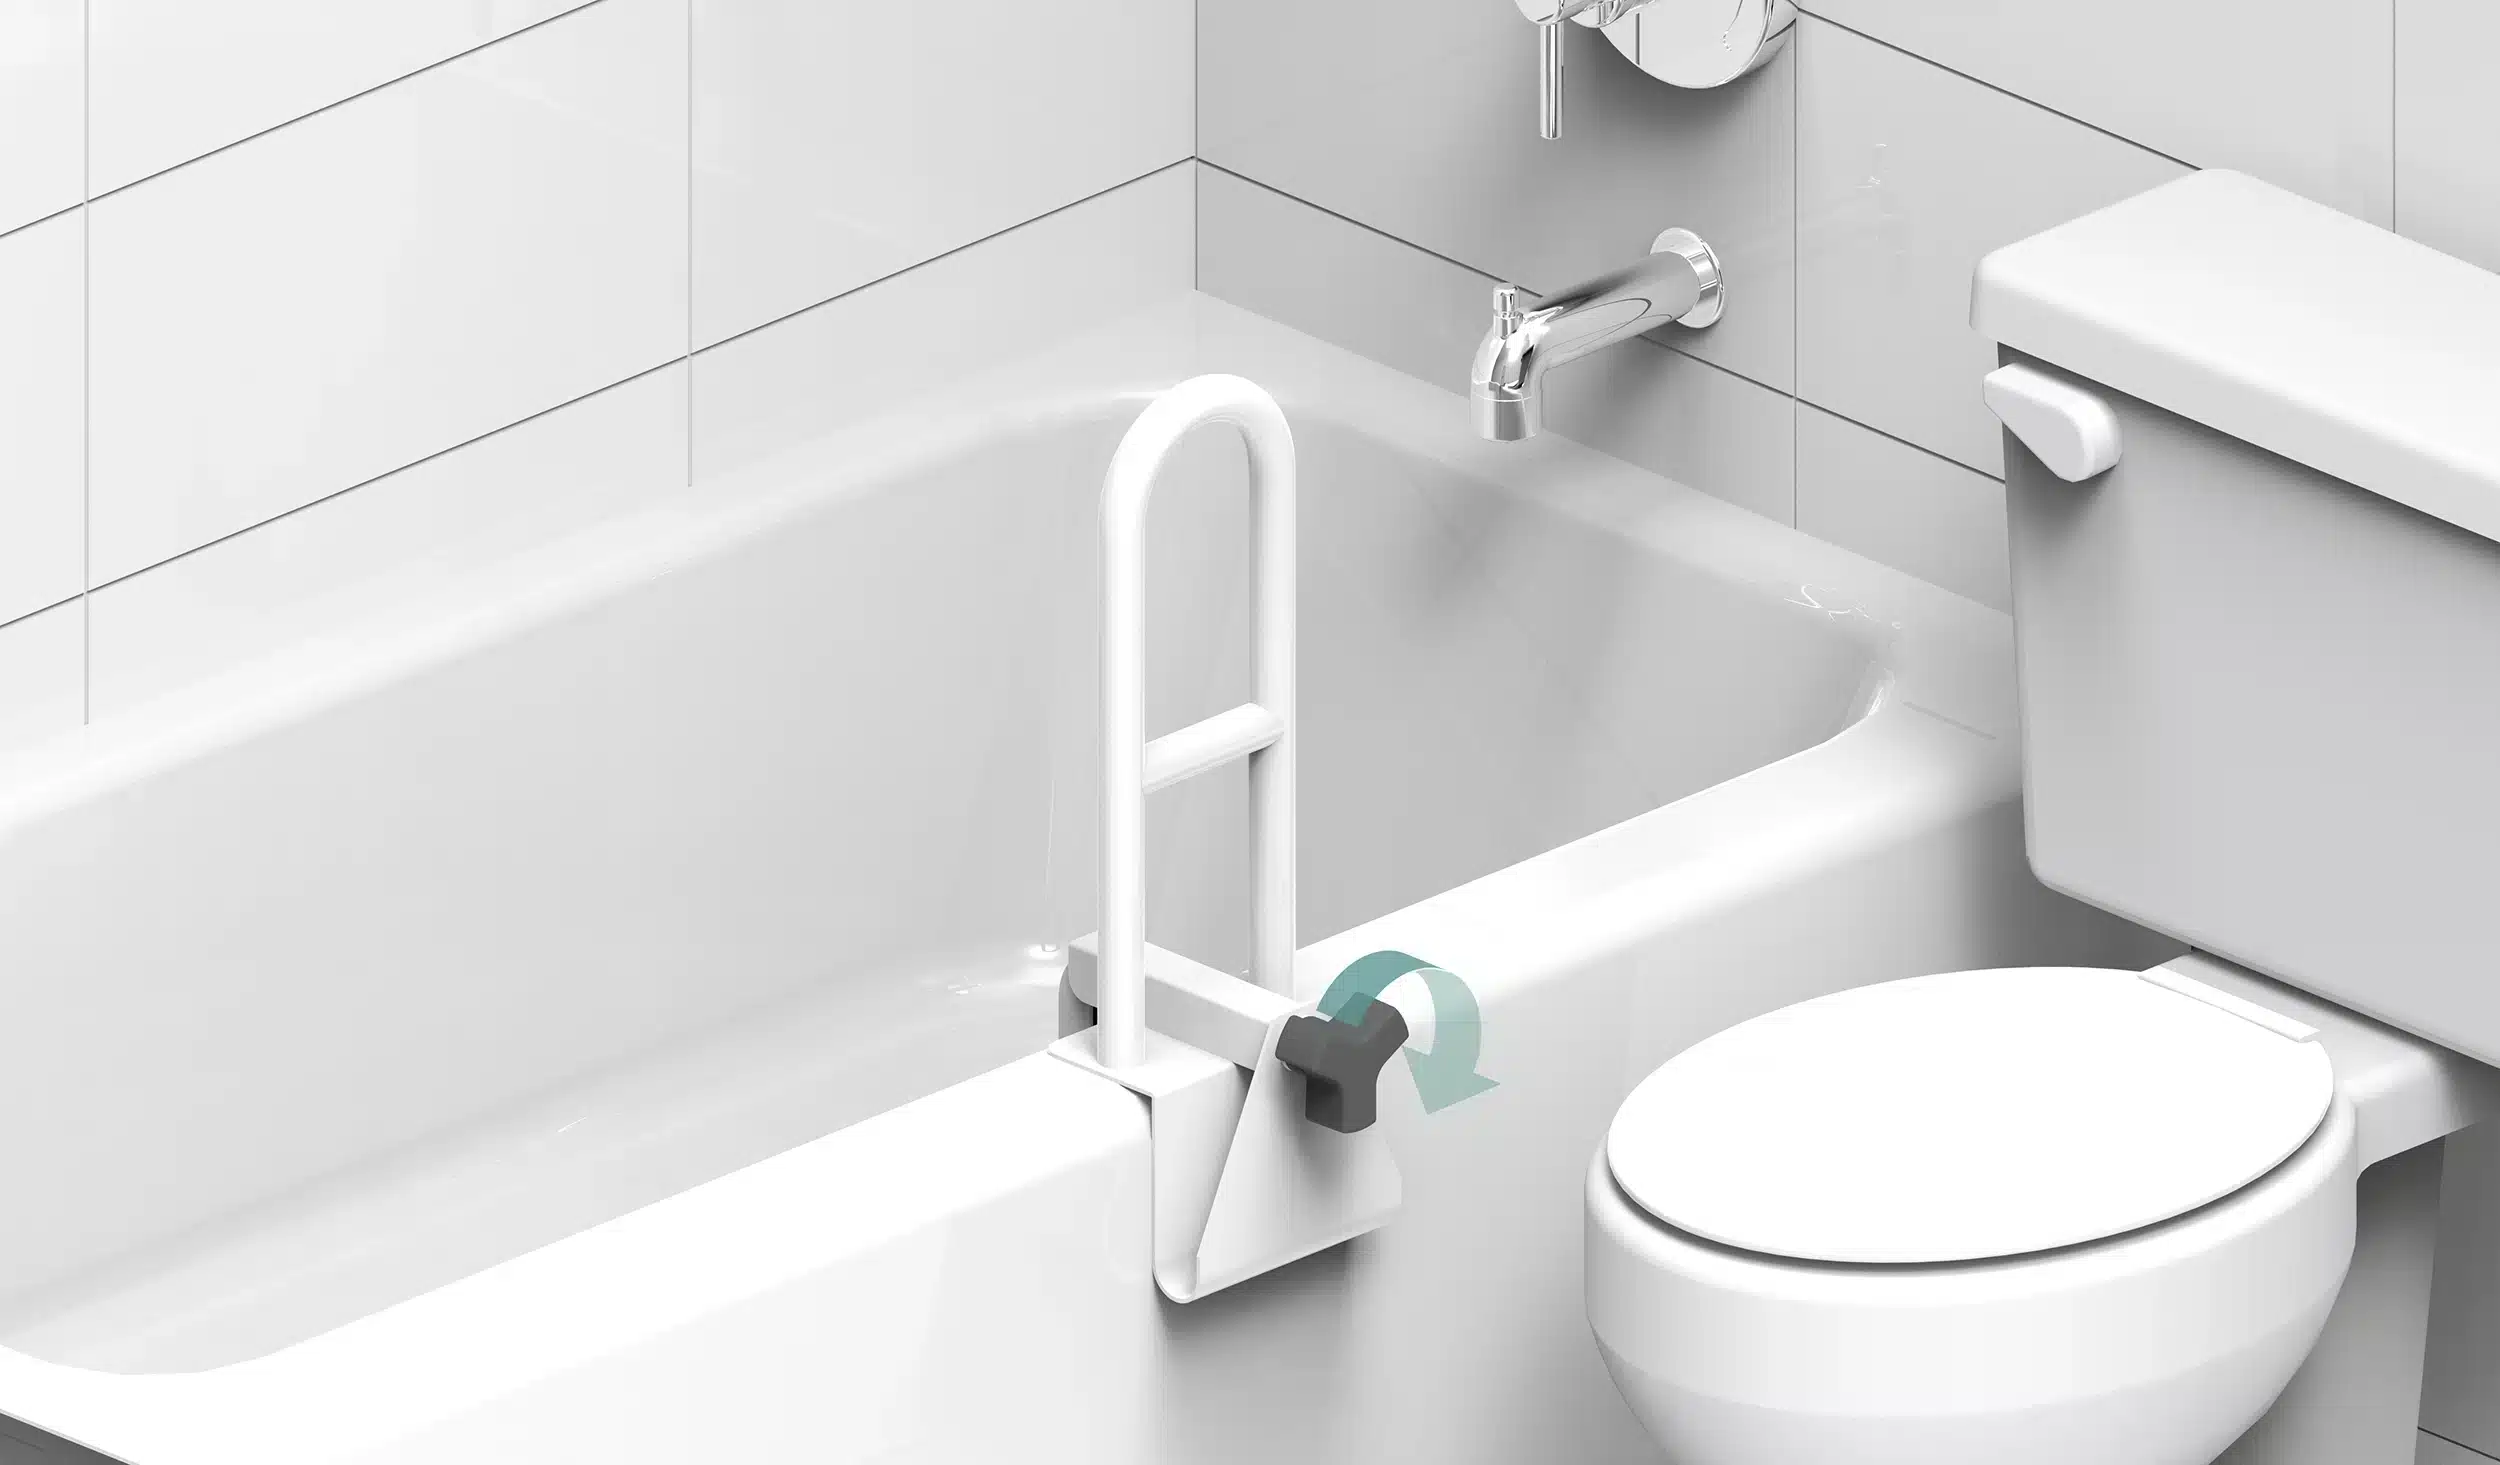
- If there is a tub on one side, consider a clamp-on tub grab bar on one side.
-
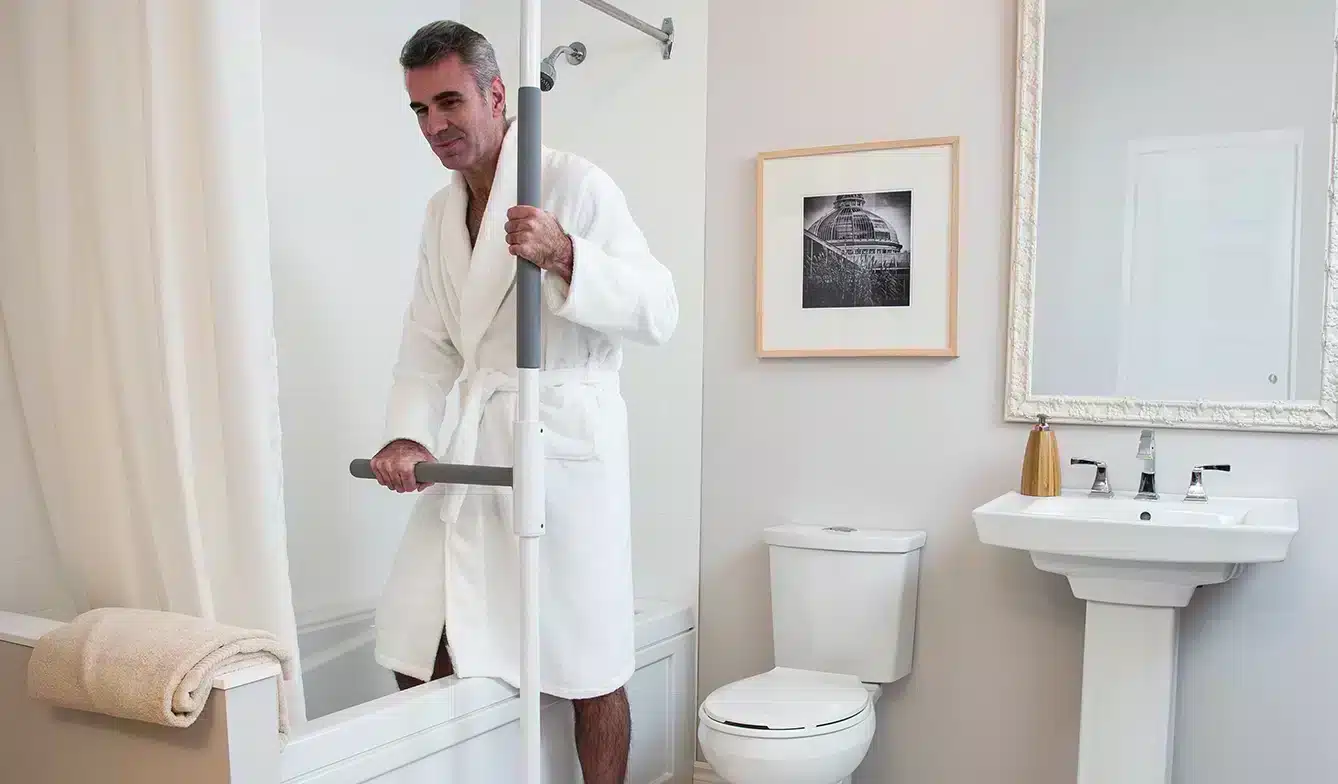
- If there is nothing for support, a floor-to-ceiling safety pole with a horizontal bar could provide the exact position and support needed for both hands OR consider rear wall-mounted fold down grab bars.
Step 3: Choose Your Ideal Arm and Hand Positions for Grip Strength & Comfort
- Assess your preferred grip position. Practice standing up and sitting down slowly and carefully. Watch where you place your hands for support or where you would like to have support.
- Use the broom handle to simulate a grab bar to answer the following questions:
- What position feels most natural: vertical, horizontal, or on a diagonal (lowest end at your elbow and highest end further away)?
- In what position do you have the strongest grasp or best leverage?
- Also consider:
- Do you need to balance lightly on the grab bar or hoist yourself up with a lot of effort? Do you need 2-handed support?
- Do you need to lean partially on your forearm for added support?
- Are you stronger when pushing up from a support or pulling yourself up?
- What is your strongest side?
- Can the same grab bar provide support once you come to standing or do you need a different one.
Step 4: Choose the Position for the Grab Bar(s)
Practice standing up from the toilet and sitting down slowly and carefully. Watch where you place your hands for support or where you would like to have support.
- Assess your preferred reach position.
- Lean forward into a position where you are ready to stand up and then reach comfortably forward. Try to keep your shoulders relaxed. Mark with masking tape where your hand reaches.
- Lean forward until your nose is over your toes so that your weight is directly over your feet. Where do you need a grab bar or support to help you do this? That is the most important question.
- Mark the wall or floor position with painter’s tape and perform several practice trials as if the grab bar was in that position.
- If you have an assistant, have them hold a broomstick or handle in the correct position so you can try it out. Move the tape as needed. Even leave the tape in place for a few days if you want to think about it as you use the toilet throughout the days and nights.
- Confirm that the position works for every person in the household who would benefit from using the grab bar.
- For grab bars and fixtures that are mounted to the wall – a vertical or diagonal bar is typically positioned forward of your knees when you are seated if you pull to stand up, no higher than shoulder height – a diagonal bar works well for several people of different sizes or abilities. If you push to stand up, position a horizontal bar at your side
- For fold-down grab bars it is important to confirm the right height and that they extend forward far enough to assist you to move forward onto your feet – measure from the wall behind the toilet to the place in front of you where you need that support
- For clamp-on tub grab bars, choose a position forward of your knees if possible. There are usually two heights of handles on the same device.
- For floor-to-ceiling safety poles, place the broomstick in a vertical position. The horizontal bar should be positioned in front of the body so that both hands can pull up on the bar, or one hand on the bar and one on the vertical pole (stable base of support). The horizontal bar needs to be far enough in front of the body so that there is plenty of room to move forward onto your feet. The horizontal bar can be rotated once you are standing.
Step 5: Install the Grab Bars Securely
- Find the studs for mounting the grab bars – for the highest weight capacity install directly into the studs.
- Or use wall anchors with compatible grab bars to place them anywhere – whether you have drywall, drywall with tile, or fiberglass walls, wall anchors can be installed on all of them
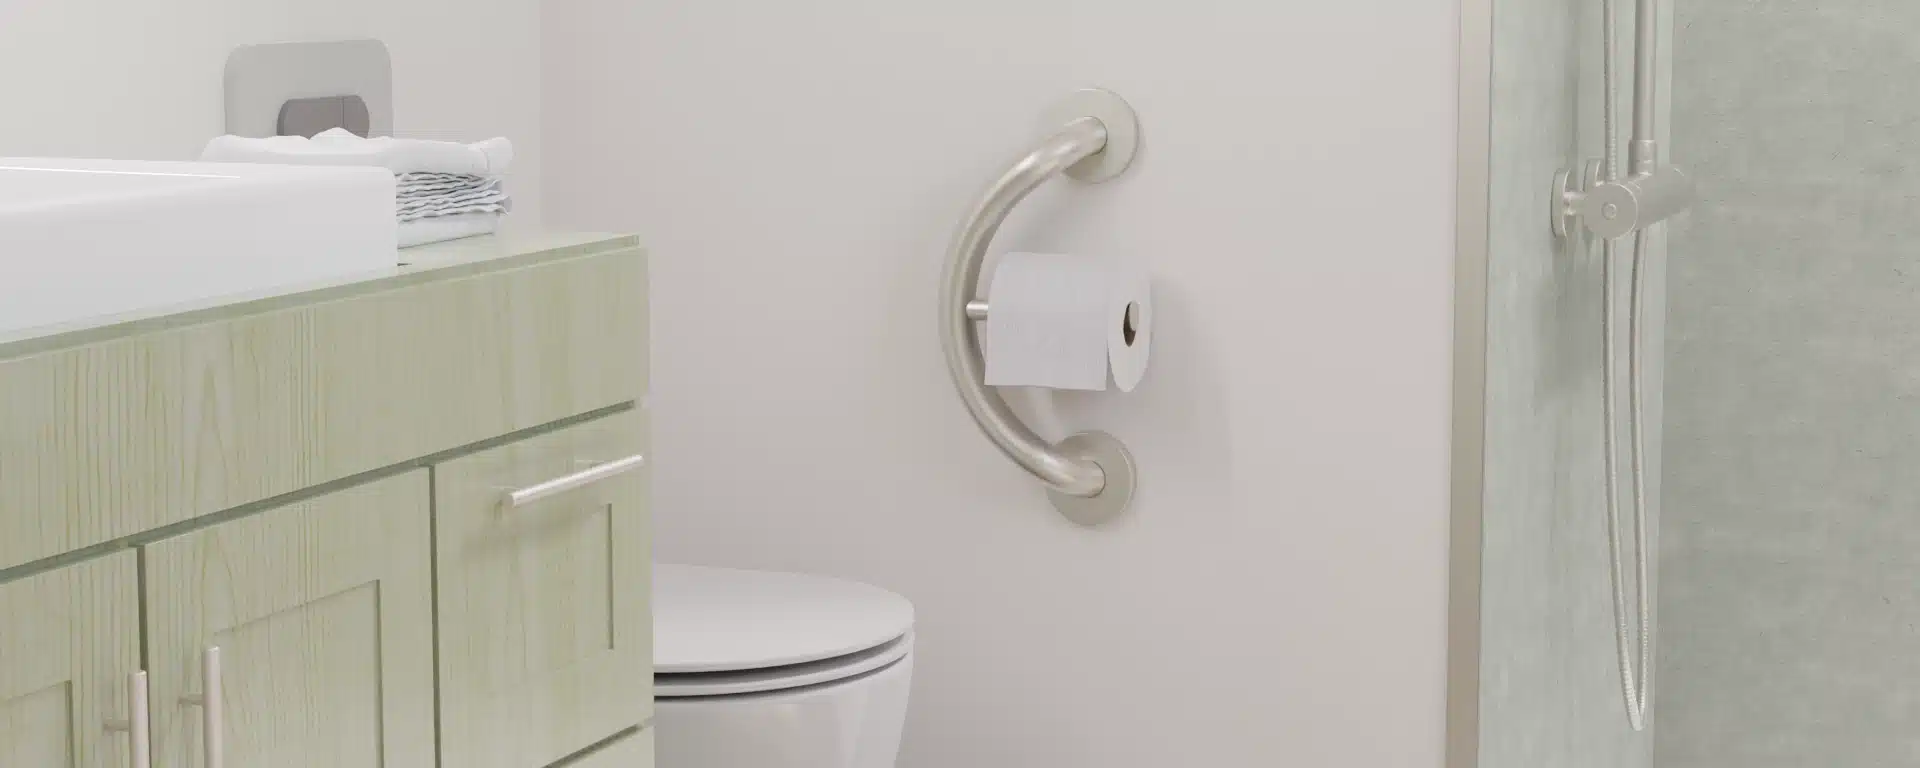
- HealthCraft has a variety of grab bars that are compatible with the wall anchors – EasyMount Grab bars in 6 different lengths (12”, 18”, 24”, 32”, 36”, 42”) and the Plus Series 2-in-1 bathroom accessories that beautifully incorporates a grab bar and accessories such as the toilet paper holder.
- If you are renovating and you have the opportunity to install wood blocking wherever you need it, grab bars can be installed anywhere. If this is not within your skill set, call an accessibility renovator or remodeler.
- Accessibility renovators are a valuable resource when it comes to remodeling your bathroom to make it beautiful and safe.
- HealthCraft has a variety of luxury grab bars in the Invisia Collection that beautifully incorporate safety with a grab bar and different accessories such the toilet paper holder

And there you have it … In 5 easy steps you have made toileting safer for you and your family. If you are worried about yourself or a loved one falling in the home, then take our fall risk assessment and get the insight you need to make your living space safer.